How to Install Wall Tiles – A Step-by-Step Guide To Wall Tiling
Taking on a tiling project can often feel daunting to begin with - however laying your own tiles can certainly save a lot of money, and it’s definitely a job that anyone can take on. Whether you’re renovating the kitchen, bathroom, living room, hallway or bedroom, we’ve put together a step-by-step guide with everything you need to know about how to perfectly tile your walls.
The steps taken to install
wall tiles will depend on the type of substrate they are being fixed onto first, for example you could be doing tile over old tile, or you could be fixing the tiles to backer boards or plaster. The two will require different processes, so we have provided you with step-by-step processes for both!
Preparing Your Tiles
Tile on tile: If you’re fixing your tiles onto existing tiles, it’s important to make sure that they are clean and none are falling off the walls, as adding new tiles will increase the weight on the existing ones. If they are loose already, adding the new ones could cause both to fall off completely. You will also need to make sure that you have applied a suitable
tile primer such as Mapei Eco-prim. As this is a ‘gritty’ primer, it will give the adhesive something to fix to.
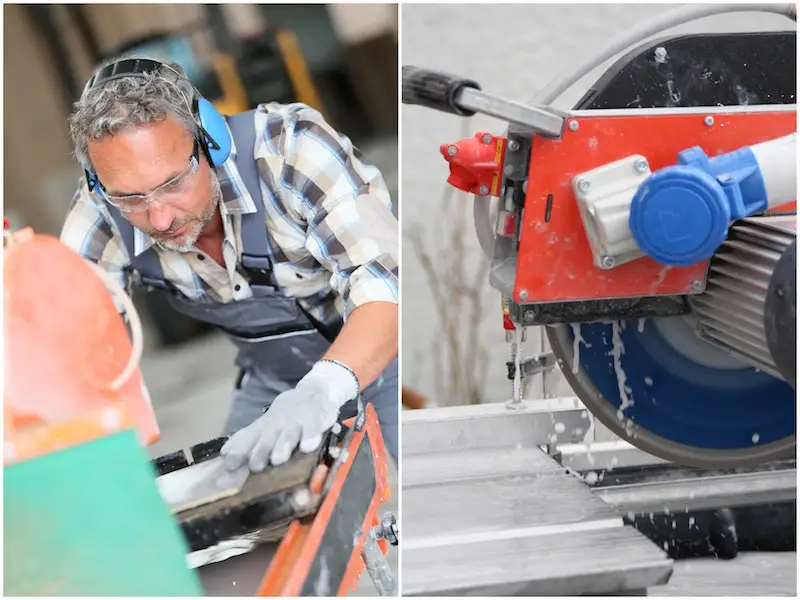
If the old tiles are polished or glazed, a stanley knife or an old grinder blade can be used to rough up the surface first to provide a "key" for the primer. To do this create small, rough grooves in the surface of the existing wall tiles to help adhesion. Once applied, allow the primer to fully cure, depending on the pack instructions.
Backer board/Plaster: If you aren’t applying your new tiles to existing tiles, ensure that the surface you are tiling is secure. If it’s fresh plaster, make sure that it has fully cured/dried before tiling. Backer boards should be fully secured to the wall as per the manufacturer’s instructions.
You will also need to make sure that the existing surface is primed beforehand using an Acrylic primer according to the manufacturer’s guide, and allow it dry fully before tiling. Never use a PVA primer as although it appears dry, as soon as any moisture is applied, it reactivates and will stop the adhesive bonding to the surface.
Positioning The Tiles
When it comes to positioning your tiles, the process is similar when tiling on tile and Backer Boards/Plaster:
1. As soon as you have prepared the surface you will then need to measure the area appropriately. Find the center of the wall, as this will be your starting point when sticking the tiles. Lay out your tiles with spacers on the floor alongside a tiling batten or a small piece of wood (approx 2x4cm), and mark the tiles’ position on the wood with a pencil to use as a guideline. Attach your battens to the top and bottom of the wall with equal spacing, but don’t hammer in the nails too far as these will be removed later.
2. Once this is done, you will then need to start dry laying the tiles. It’s important to do this before fixing them so you know there are enough tiles available to do the job and so that you can plan where equal cuts will be achieved.
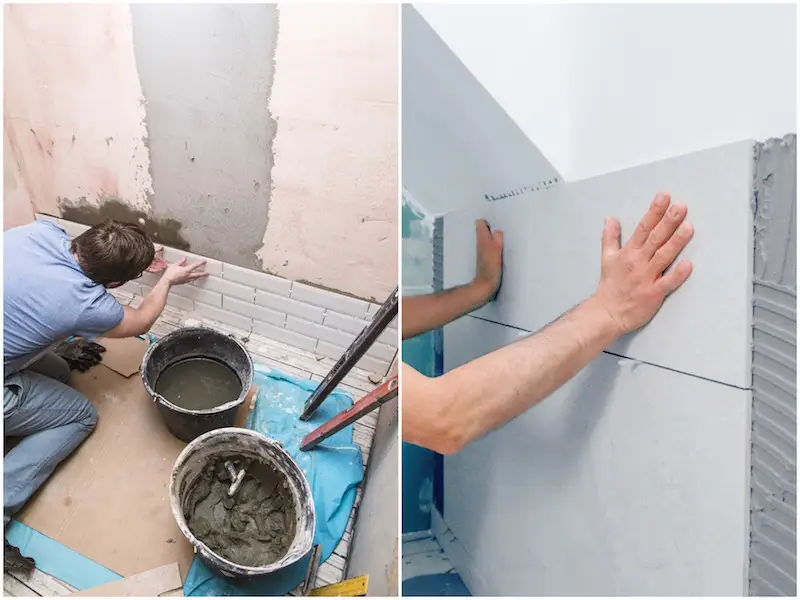
3. When you have worked out your positioning, you will need to use an appropriate
trowel, usually a 6 or 8mm size tool to apply the adhesive onto the wall. Then just stick the tile to the wall, and push it against the surface to ensure that the tile has full coverage on the back.
Tip: Only ever apply the
adhesive in straight lines as this will allow for better coverage beneath the tile.
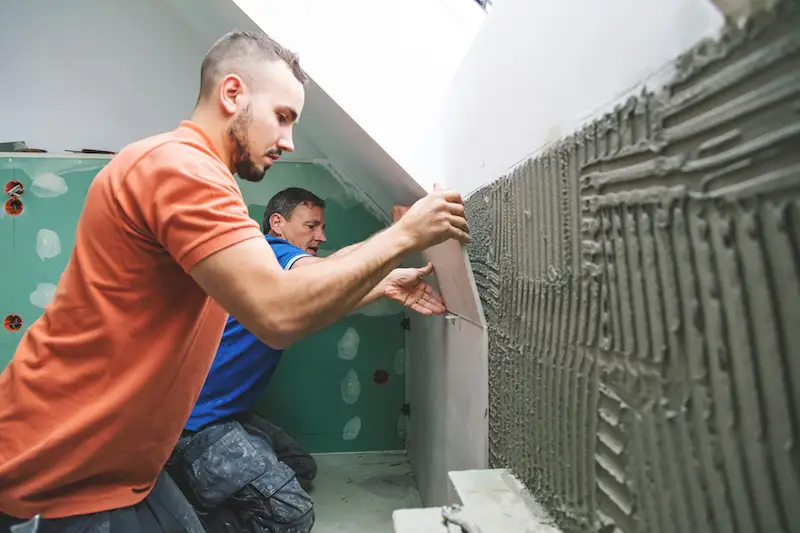
4. Insert a spacer or levelling clips between the tiles to ensure equal gaps and straight grout lines. Repeat the process until the wall is completed.
5. When it comes to external/internal corners and windows you may want to use a
tile trim to finish these off. You just need to insert the trim behind the tile and make sure that it is the appropriate thickness, as too small of a trim will show the unrefined tile and a large trim will create a lip.
6. Allow the adhesive to fully cure before applying the grout (always refer to the grout pack for instructions). Remove tile spacers 20 to 30 minutes after your adhesive is left to dry.
Time to Grout
Before you begin to
grout, make sure that your adhesive is solidly set – the recommended setting time is 24 hours. At CTD we have a wide range of coloured tile grouts to choose from, which will make all the difference to your finished project.
Here are some tips on how to
grout and what to use:
- Use a high quality powdered grout rather than a ready-mixed grout, this will result in a stronger grout that lasts longer and is easier to keep clean.
- Use clean tools to avoid cross-contamination.
- Stick to the manufacturer’s instructions with water content and the curing times, and if it requires to be remixed after a certain amount of time.
- Make sure that the grout is thoroughly mixed either by using a drill attachment or a dedicated electric mixer with suitable whisk.
- Ensure that all grout is from the same batch (usually the date of manufacture is on the bag).
- Never add anything to the grout unless the manufacturer specifies, such as additives.
- Apply with a grout spreader or
grout float, and stick to going diagonally across the tiles at a 45° angle to avoid pulling the grout back out of the joints.
Finishing Off
Now that you have grouted, you need to make sure there is no excess grout on the tiles. To do this, simply remove it with a damp, clean sponge such as the
Rubi Sponge float and leave for 30 minutes before buffing the tiles.
Once the tiles have fully cured for 24 hours (this will be weather/manufacturer/temperature dependent) you can then apply a silicone sealant around the edges, near any appliances or furniture to stop any water seeping into any gaps. And voilà! Your wall tile project should be beautifully complete.
We hope this blog has made your tiling process easier, if you’re yet to start your tiling renovation and are on the hunt for the right tiles, check out our wide selection
here!