Think of your
bathroom tiles as the foundations that your bathroom is being built on - you can’t have unstable or badly executed foundations, otherwise the finish will be poor and you won’t end up with the dream bathroom you’ve been planning for so long! We’ve spoken to our tiling experts here at CTD and put together our top tiles on how to tile a bathroom.
Choose your tiles and style
You can use just about any tile in the bathroom, so your first step is really just deciding on the look and style you would like to go for.
There are a few things to take into consideration when picking your bathroom tiles though, mainly what they’re made of. We would recommend using
porcelain tiles on floors, for example, due to them being more hardwearing and therefore more suited to a busy, heavy footfall room.
If you are planning tiling the floor that goes into the shower or wet zones, we would recommend using
anti-slip tiles or tiles with some texture and structure in these areas to help with grip underfoot.
Take tile samples home
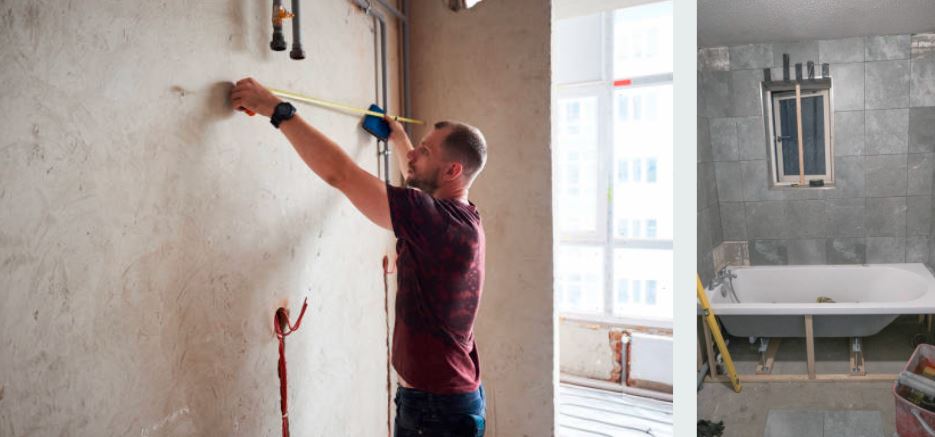
When choosing your tiles, always make sure to take samples home and position them where they would be placed in the finished room. Lighting in showrooms will be very different to the lighting in your bathroom at home and it’s important to understand how the tiles will actually look in your bathroom before you make your decision - you’d be surprised how often it changes when you get them in the actual room!Measure up properly - how many tiles will you need?
This may seem like an obvious step but it’s extremely important! Measure your walls and floors and figure out how many tiles you will need by figuring out the space by square metre (most tiles are sold in boxed per m2). Our
tile calculator can help you to work out the meter square measurements for your room.
Top tip: add an extra 10% of tiles onto your order for wastage and breakage!
When you’re tiling a bathroom there will be accidents but you will also need to cut certain tiles into different sizes and shapes so you’ll need extra. 10% will give you that safety net and mean that you won’t have to rush back to get more when you’re in the middle of tiling!
Ordering all your tiles at the same time will also ensure your tiles are the same shade, from the same production batch. The same tile produced in a different batch can vary slightly in shade and appearance, so it’s always best to make you order enough at the start.
Think about your finished look
Once you have chosen which tiles you’d like to go for you will need to think about the overall look and finishing details. For example, do you want to use
tile trims or have mitred edges on tiles around window sills and other corners? It’s important to factor in these details at this stage so that you know what you’re working with when you start tiling.
Now is the time to also think about what
grout colour you would like. Do you want to go for a complementary shade or something contrasting? On floors, we would recommend using a slightly darker grout as white grout can get a bit grubby and requires more maintenance to keep it clean. Another consideration with grout is how thick you would like your grout lines to be. Standard spacing is 2-4mm but going for 1mm will help to create a more continuous look from tile to tile. At this stage you should also be thinking about any little design details that need to be factored into the tiling, such as niches, coving, shelves, lighting, tap positioning and any accessories that need to be considered.
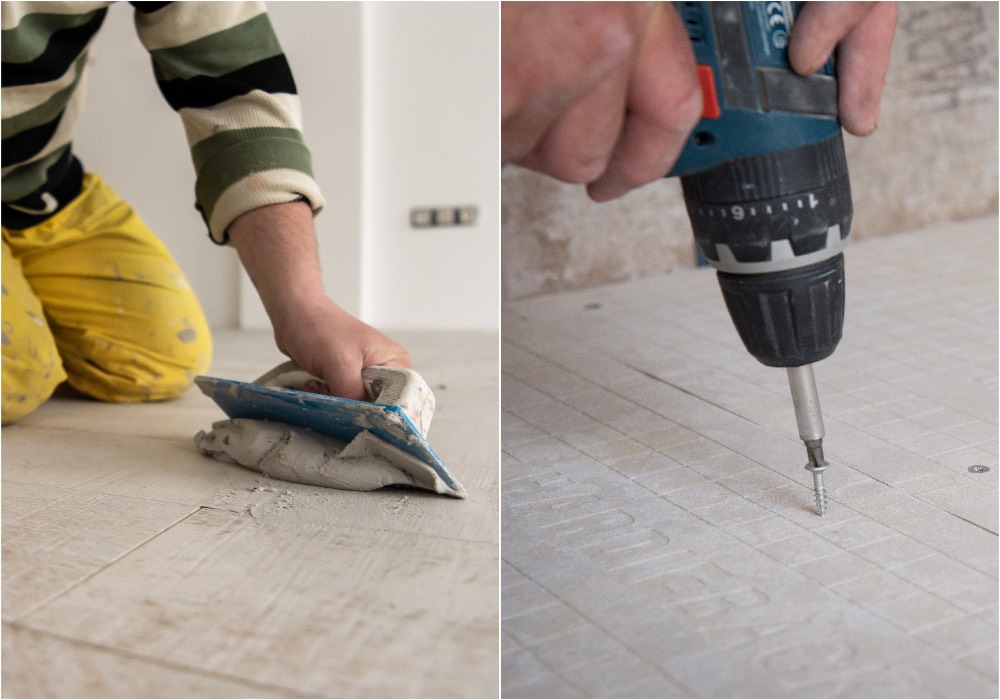
Prepare your walls and floors
You need to make sure the surface you’re tiling onto is as flat as possible. What substrate are you tiling onto? Floor boards, concrete, plasterboard? You may need to consider the use of an anti-crack mat or membrane, or
tile backer boards to create a surface that is as flat and stable as possible and able to bear the weight of your chosen tiles, as well as the adhesive and grout.
Make sure anything that you apply to the surfaces is water resistant, especially if tiling in a shower or bath areas. You may need to use a
self-levelling compound followed by a
primer before you tile, if your floor substrate is uneven.
Top tip: If you’re tiling onto new plaster, make sure you allow enough time for the plaster to fully dry before tiling onto it.
Choose the right tile adhesive
You will need to choose the right
tile adhesive to suit your sub floor or wall. A flexible adhesive is recommended for floors subject to potential minimal movement, such as floorboards. Slow setting adhesive is often advised for walls to allow more time for tweaks and adjustments, whilst fast setting tile adhesive is often used on floors to enable foot traffic quicker after tiling.
Map out your tile guidelines before you tile
When tiling a wall, you would typically start from a central point on the wall and work outwards, checking you don’t end up with uneven cuts at the outer edges and top and bottom of the walls. If you find you will end up with uneven cuts at each edge, adjust your center line slightly to even the pattern out. It’s important to take your time to plan where the tiles are going to be positioned, doing this carefully at this stage will save you time later on. To map out your lines of where you are going to tile, use a spirit level or laser level. Using this line as your guide will help you to make sure your tiles are straight and positioned in the correct place. You will most likely need to cut some tiles on the edges of the room so that they fit into each row, so just work from a centre point outwards on each line and complete each tile line individually.
Top tip: Use your spirit level or laser level to mark a vertical line as well as a horizontal line to make sure you know your tiles are straight both ways!
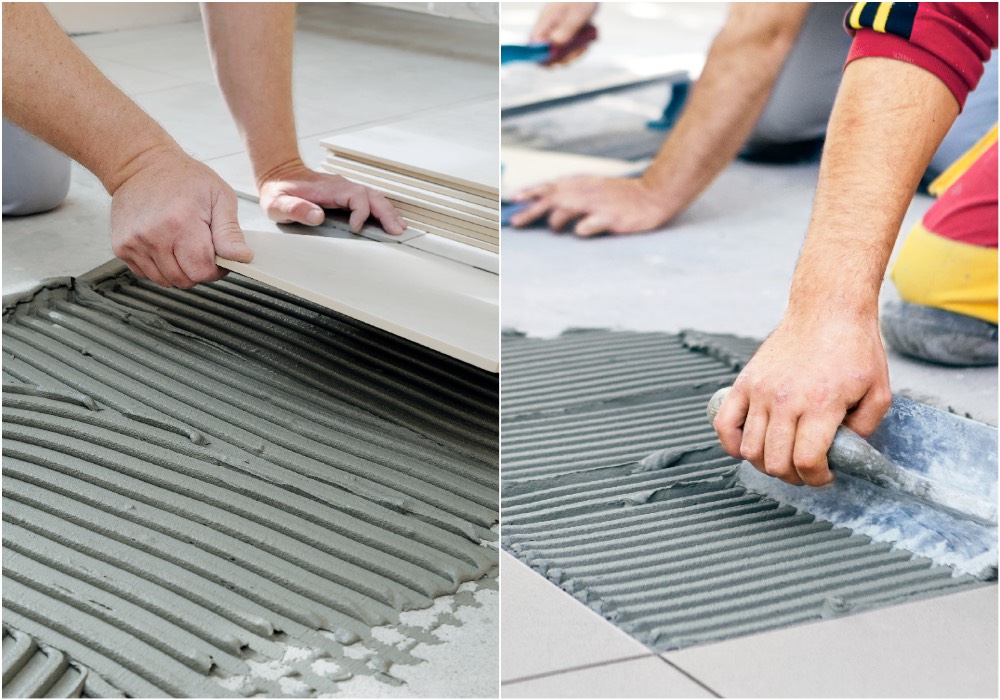
Start tiling
Working from the lower centre upwards and outwards, apply your adhesive to the wall, making sure you work in small and manageable areas at a time. Apply your tile to the adhesive on the wall and place it in the right position, making sure it’s straight (look back at your lines). Add a spacer to the sides of the tile and then carry on with this process row by row.
When you get to any tricky areas or ends of rows, you may need to cut your tiles. Simply mark on the back of tile where it needs to be cut and cut to the required size using a manual tile cutter or electric tile saw. Before you start cutting, it’s important to make sure your tile cutter is suited to the tile material you have chosen, as different materials have different thicknesses and may require slightly different cutting blades. We would recommend having a few test runs on your cutter to make sure you get used to how it feels and how it operates. Finish with grouting and sealant
Before grouting, make sure your tile adhesive is completely dry (18 hours should be enough time but be sure to check the adhesive product packaging to make sure you allow enough time). Mix your chosen grout as per the specific product instructions and get ready to apply!
Use a
grout float or squeegee to spread the grout into the gaps between the tiles. Work in small sections at a time and make sure you get into all the gaps, using your fingers if needed. Wipe away the excess grout with a damp sponge and then buff the tiles with a cloth. Repeat this process until complete!
Once you have grouted, make sure you seal along any edges with
silicone sealant (preferably a matching colour to your grout) and then leave to dry. And finally, it’s worth considering
sealing solutions if you are using polished or porous tiles to prevent stains and water penetration. You may also want to use a grout sealer spray for added protection and ease of cleaning.